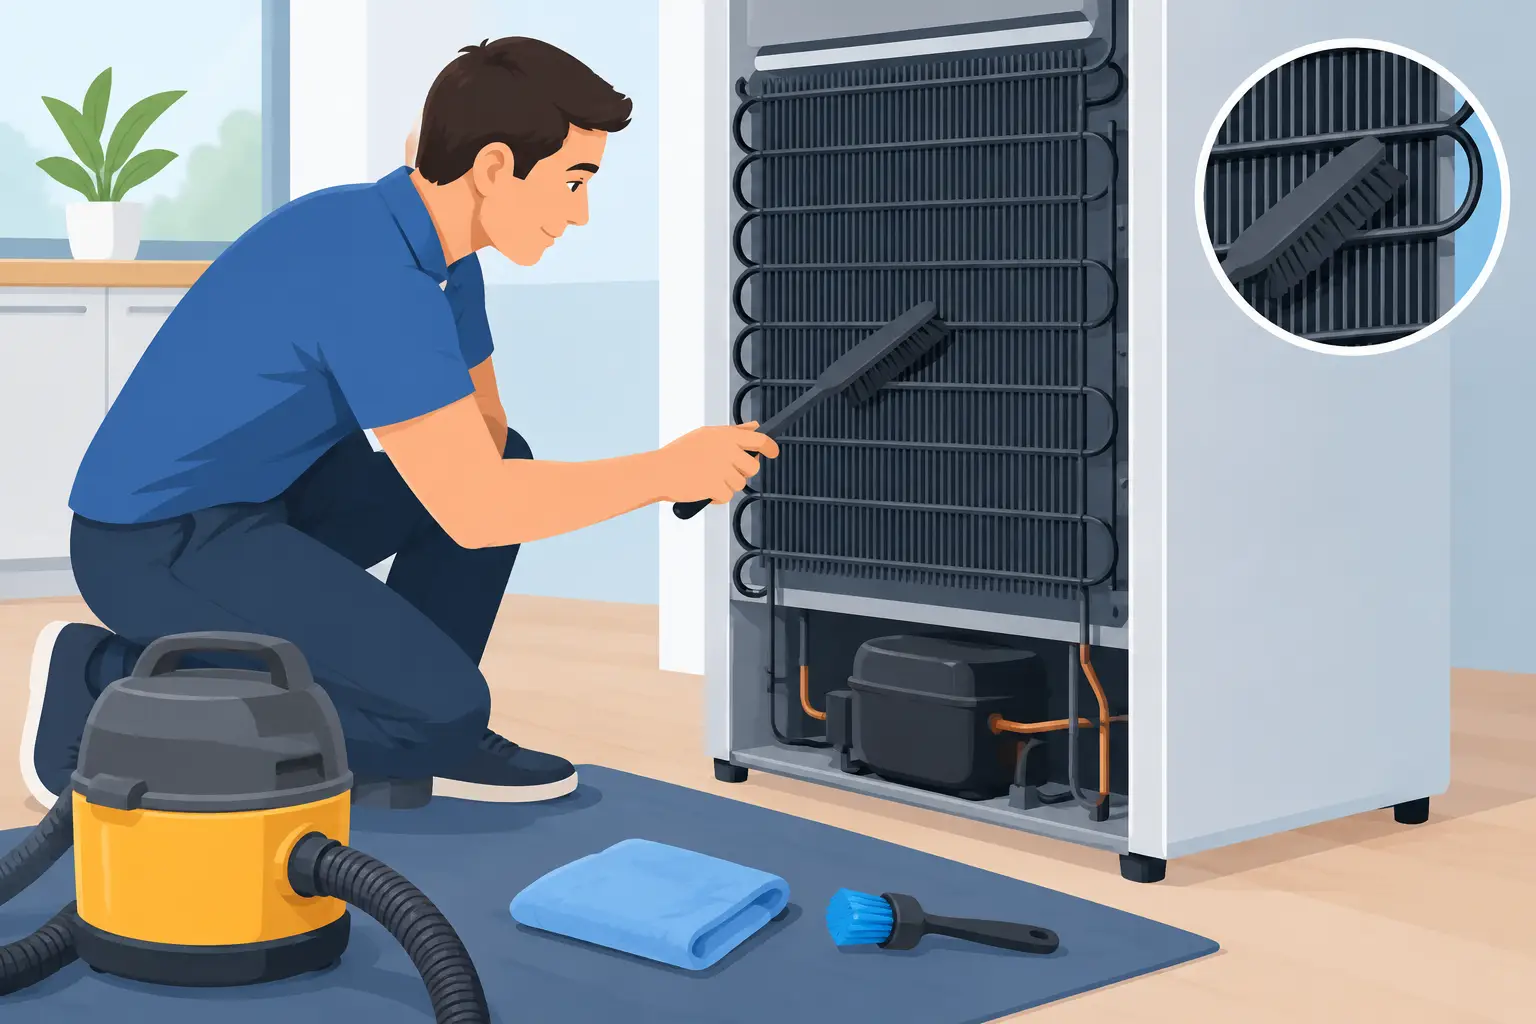
A refrigerator that runs longer than usual, feels warm around the sides, or struggles to keep groceries cold may not need a major repair. It may need better airflow. This guide to refrigerator coil cleaning explains how to remove the dust and pet hair that can make a refrigerator work harder, along with the warning signs that mean the problem goes beyond routine maintenance.
Why Refrigerator Coils Need Attention
Your refrigerator moves heat out of the cabinet through condenser coils. As refrigerant carries heat away from your food compartment, the coils release that heat into the surrounding air. When the coils are covered with dust, lint, grease, or pet hair, that heat has a harder time escaping.
The result is extra strain on the compressor and fan. Your refrigerator may run more often, make more noise, use more electricity, or have trouble holding a safe temperature. In Orange County homes with shedding pets, open kitchens, or laundry areas near the refrigerator, coils can collect buildup faster than many homeowners expect.
Cleaning coils is preventive maintenance, not a cure for every cooling issue. It can help a refrigerator operate more efficiently, but it will not fix a failed compressor, a bad condenser fan motor, a refrigerant leak, a faulty control board, or worn door gaskets. If the refrigerator is already warm inside or food is spoiling, do not assume coil cleaning alone will solve the problem.
Where to Find Your Refrigerator Coils
On many older refrigerators, the coils are exposed behind a removable panel near the bottom front or across the back of the appliance. More recent models often place them underneath the unit, where they can be reached by removing the lower front grille or rear access panel.
Some modern refrigerators, including certain premium and built-in models, use a condenser system that is less visible or designed differently from traditional exposed coils. Sub-Zero, Miele, Thermador, Viking, and other high-end refrigerators may have model-specific access points and filters. Check the owner’s manual before removing panels or forcing a grille open. A panel that seems stuck may be secured by clips, screws, or a design feature that should not be pried loose.
If you cannot locate the coils without moving the refrigerator, that is normal. The goal is to clean accessible dust safely, not to disassemble the appliance.
What You Need for Coil Cleaning
A basic cleaning job usually takes 20 to 40 minutes. Gather a vacuum with a hose attachment, a soft refrigerator coil brush, a flashlight, a microfiber cloth, and a screwdriver if your model has a screw-fastened access panel. A narrow crevice tool can help around tight spaces.
Avoid using water, degreasers, compressed air, or hard wire brushes around the coils. Water near electrical connections creates unnecessary risk. Compressed air can blow debris deeper into the cabinet or onto nearby components. Hard tools can bend delicate coil fins, loosen wiring, or damage plastic fan blades.
Wear gloves if needed. The edges of access panels and the underside of a refrigerator can be sharp, especially on older appliances.
Guide to Refrigerator Coil Cleaning: Step by Step
1. Protect your food and disconnect power
Keep the refrigerator doors closed while you prepare. A short cleaning session will not usually affect food temperature, but avoid leaving the appliance unplugged longer than necessary. If you expect to pull the refrigerator far from the wall or work for more than 30 minutes, place perishable food in a cooler with ice packs.
Unplug the refrigerator before accessing the coils. If the plug is difficult to reach, turn off the appropriate circuit breaker. This protects you from moving electrical components and prevents the condenser fan from starting while your hands or tools are near it.
2. Move the refrigerator carefully
Pull the appliance straight out slowly. Refrigerators are heavy, and dragging one can scratch flooring, damage water lines, or kink the ice maker supply line. If your refrigerator has a water dispenser or ice maker, watch the line behind it as you move the unit.
For a built-in, panel-ready, or very heavy refrigerator, do not force it out of its space. Those units often require special care to prevent cabinet, floor, or water-line damage.
3. Remove loose debris first
Use the flashlight to inspect the lower grille, rear panel, floor area, and the coils themselves. Start with the vacuum to remove loose dust balls and pet hair. Work slowly so the vacuum nozzle does not strike the coils, wiring, or fan assembly.
Then use a soft coil brush to loosen debris caught between coil loops or beneath the appliance. Brush gently and pull the dust outward toward the vacuum. The brush is there to lift buildup, not to scrub aggressively.
4. Clean around the condenser fan
If the fan is visible, vacuum around its housing and blades without bending or spinning the blades forcefully. A condenser fan helps move air across the coils. Dust buildup around the fan can reduce airflow even when the coils look reasonably clean.
Do not remove fan covers, disconnect wires, or reach into areas you cannot see clearly. If the fan is noisy, not turning, or blocked by something more than surface dust, schedule service rather than trying to repair it during routine cleaning.
5. Reassemble and check the refrigerator
Replace the grille or access panel securely. Confirm that no tools, rags, or loose debris remain under or behind the refrigerator. Carefully return the unit to its original position without pinching the water line or pressing the power cord against the wall.
Plug it back in and listen for normal operation. You may hear the compressor or fan start after a short delay. Over the next several hours, verify that the refrigerator and freezer return to their normal temperatures. A refrigerator compartment should generally stay at or below 40°F, while the freezer should remain around 0°F.
How Often Should You Clean Refrigerator Coils?
Follow the cleaning interval and access instructions in your refrigerator model’s owner manual. For example, Sub-Zero’s condenser-cleaning guide recommends cleaning every six to twelve months. Models and conditions differ; dust, pets and cooking grease can call for more frequent checks. Some refrigerators have concealed or maintenance-free condensers and should not be dismantled for routine cleaning.
There is no advantage to taking the refrigerator apart every month. Overhandling panels, water connections, and tight components can create problems that routine maintenance was meant to avoid. A quick visual check around the lower grille every few months is usually enough to tell you whether dust is building up.
Signs Cleaning Is Not Enough
If cleaning the coils does not improve performance, the refrigerator may have a mechanical or electrical problem. Call for diagnosis when you notice any of these issues:
- The refrigerator is above 40°F or the freezer is thawing food.
- The compressor runs almost constantly after the coils have been cleaned.
- You hear clicking, grinding, rattling, or unusually loud fan noise.
- There is frost buildup, water leaking onto the floor, or a burning smell.
- The condenser fan does not run when it should, or the refrigerator repeatedly trips a breaker.
A warm refrigerator can lead to spoiled food quickly, so it is better to arrange service promptly than keep adjusting temperature controls and hoping the issue settles. Temperature settings do not correct a failing fan, defrost problem, sealed-system issue, or airflow obstruction inside the appliance.
A Practical Maintenance Habit That Protects Your Refrigerator
Coil cleaning works best as part of a simple refrigerator care routine. Keep the lower grille and surrounding floor free of dust, leave adequate space for ventilation where your model requires it, and make sure the doors close fully. Do not block interior vents with oversized containers or tightly packed food, since internal airflow matters just as much as external airflow.
If your refrigerator is still running hot, noisy, or constantly after a careful cleaning, AK Appliance Repair provides in-home refrigerator and freezer diagnosis in Tustin and Orange County and a clear estimate before repair work begins. A timely professional check can protect your food, reduce strain on the appliance, and help you avoid replacing a refrigerator before it is truly necessary.