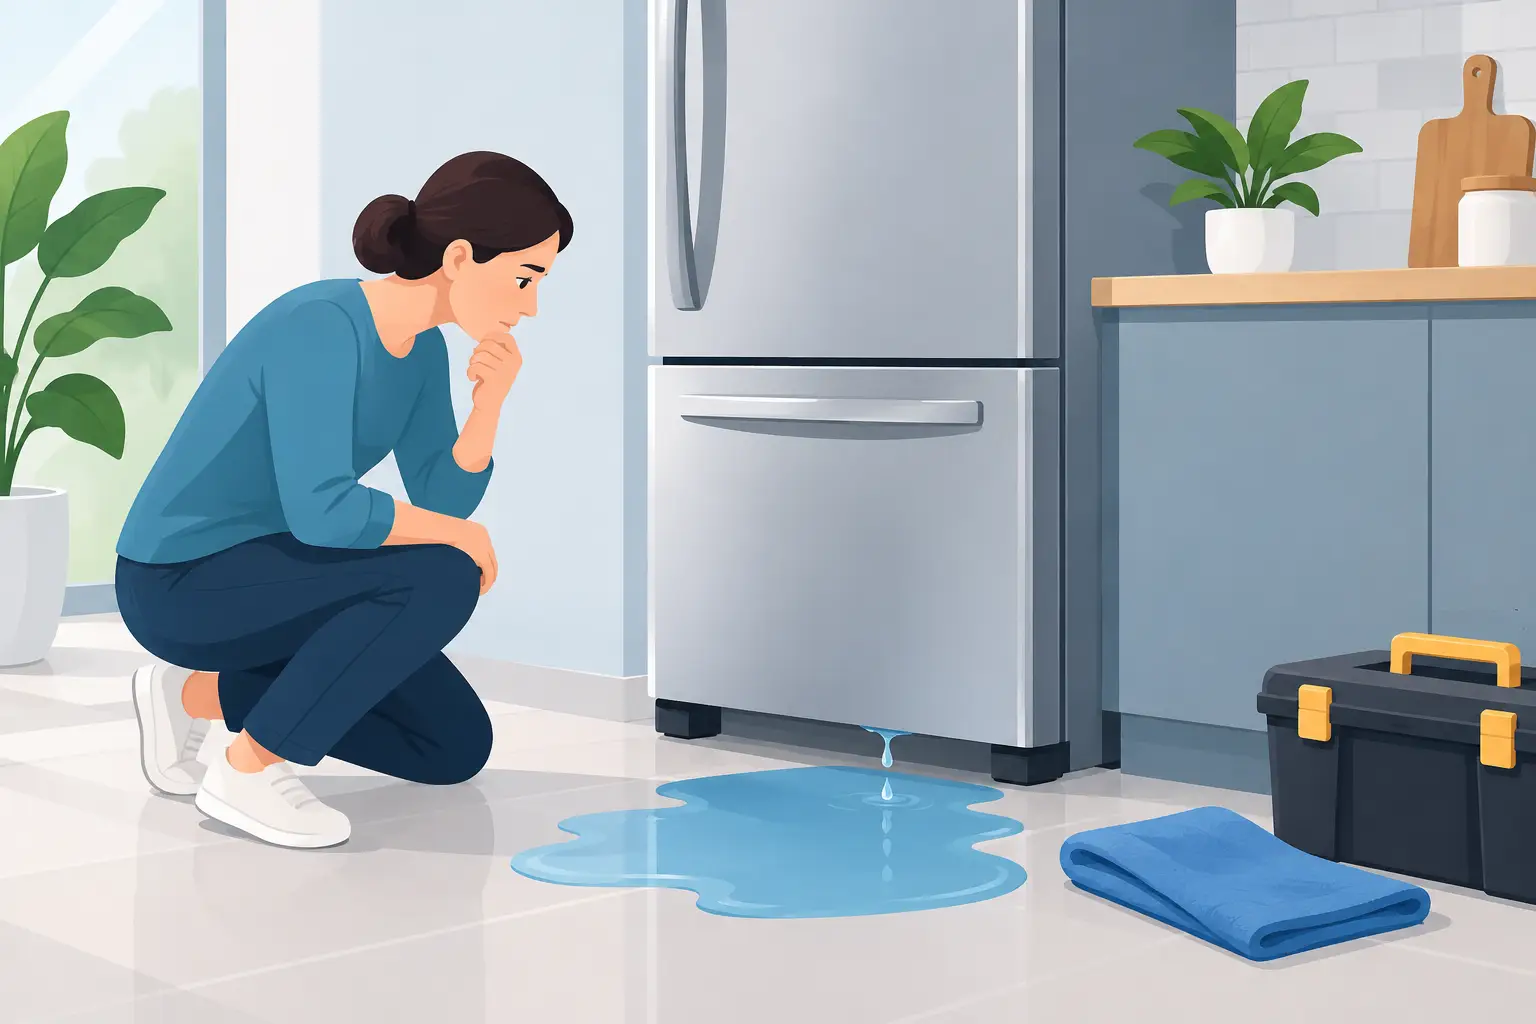
A puddle beneath the refrigerator is easy to dismiss when the kitchen is busy. But refrigerator leak causes range from a loose water connection to a defrost problem that can damage flooring, cabinets, and nearby walls if it is left alone. The good news is that many leaks leave clues about where the problem started.
Before moving the refrigerator or taking panels apart, protect the area. Dry the floor, move rugs or stored items away from the water, and check whether the leak returns after you use the water dispenser, make ice, or open the doors. If water is near an outlet, exposed wiring, or a damaged power cord, avoid touching the appliance and arrange professional service.
Refrigerator Leak Causes You May Be Seeing
The location, timing, and appearance of the water matter. Clear water at the front of the refrigerator usually points to a different issue than water collecting beneath the unit or inside the fresh-food compartment.
A clogged or frozen defrost drain
This is one of the most common reasons a refrigerator leaks onto the floor. Frost naturally melts during the defrost cycle, and the meltwater is supposed to travel through a small drain opening and tube to a pan below the refrigerator. When that opening freezes over or becomes blocked with food debris, the water has nowhere to go. It can overflow into the refrigerator compartment and eventually run onto the kitchen floor.
You may notice water under the crisper drawers, a sheet of ice on the freezer floor, or periodic puddles near the front of the appliance. Some homeowners can see a blocked drain, but clearing it incorrectly can damage the drain tube, insulation, or interior panels. A technician can identify whether the issue is a simple blockage, a frozen drain line, or a defrost-system failure that is creating excess ice.
A damaged or loose water supply line
Refrigerators with an ice maker or door dispenser have a water line behind the appliance. A cracked plastic tube, loose fitting, worn valve connection, or pinched line can leak slowly for days before it becomes obvious. Because this leak happens behind the unit, it may first show up as warped flooring, damp drywall, or a musty smell.
Pulling a refrigerator forward can make a weak connection worse, especially when the copper or plastic line is stiff with age. If you can safely access the shutoff valve, turn off the refrigerator water supply and see whether the leak stops. Do not force fittings or use tape as a permanent repair. Water-line repairs need secure, correctly matched parts to prevent another leak later.
An ice maker problem
A leaking ice maker can be caused by an overflowing mold, a fill tube that is frozen or out of position, a failed inlet valve, or a cracked ice bin assembly. The pattern is often revealing: water or ice buildup inside the freezer points to the ice maker area, while water beneath the refrigerator may come from a connection at the rear.
If the leak appears only when the ice maker is operating, turn the ice maker off and monitor the area. That can limit additional water damage while you schedule a diagnosis. Do not assume the ice maker itself is always at fault. A failing water inlet valve can allow too much water into the system even when the ice maker is functioning normally.
A cracked or overflowing drain pan
The drain pan sits underneath the refrigerator and collects normal defrost water, which usually evaporates from heat generated by the appliance. In most homes, the pan should not need to be emptied. If it is cracked, improperly positioned, or receiving more water than it can handle, water can collect beneath the unit.
An overflowing pan may signal a larger defrost drain issue rather than a pan problem alone. This is why replacing a visibly cracked pan without checking the drain system can lead to another leak. A professional diagnosis should trace the water path from the freezer drain to the pan.
Condensation from poor door sealing
Warm, humid Orange County air can create heavy condensation when refrigerator or freezer doors are not sealing tightly. A torn gasket, food package blocking the door, misaligned door, or worn hinge can allow warm air inside. That moisture may collect on shelves, under drawers, or near the door before dripping onto the floor.
Check for obvious gasket tears, sticky residue, or containers preventing the door from closing. Wipe the gasket clean and make sure the appliance is reasonably level. If the seal looks intact but the door still will not stay closed, the hinge, door alignment, or gasket may need service.
A refrigerator that is not level
Refrigerators are designed to sit level from side to side and often need a slight tilt toward the back. If the unit leans forward, doors may not close correctly and defrost water may not drain as intended. Leveling is a simple adjustment in some cases, but a sudden change in position can also point to a damaged roller, uneven flooring, or an installation issue.
A level problem rarely explains a major leak by itself. It is more often a contributing factor that makes an existing drain or door-seal problem more noticeable.
What You Can Safely Check Before Calling for Repair
Start with the simplest observations. Note whether the water is clear, whether it appears after the dispenser or ice maker runs, and whether there is ice in the freezer or water beneath the produce drawers. These details help narrow down the cause and can make an in-home diagnosis faster.
You can also inspect the door gaskets for debris, confirm that food is not holding a door open, and make sure the refrigerator is not packed so tightly that air vents are blocked. If your model has a visible water filter, check whether it is fully seated. A recently replaced filter that is not locked into place can drip or leak internally.
Avoid using sharp objects to chip freezer ice, pouring boiling water into drain openings, or removing the rear lower panel while the appliance is powered. Those shortcuts can puncture components, create an electrical hazard, or hide the actual cause long enough for the leak to return.
When a Refrigerator Leak Needs Professional Attention
Call for service promptly if water keeps returning, the refrigerator is not cooling correctly, ice is building up inside the freezer, or you see moisture behind the appliance. A leak paired with poor cooling can indicate a defrost, airflow, or sealed-system concern that requires more than a new water line or a quick cleanup.
Professional service is also the safer choice for built-in and premium refrigerators. Models from Sub-Zero, Thermador, Miele, Viking, Wolf, Fisher & Paykel, and other high-end brands can have model-specific access panels, water systems, and drain configurations. Correct diagnosis protects both the appliance and the cabinetry around it.
At AK Appliance Repair, trained technicians diagnose refrigerator leaks in your home, explain what failed in plain language, and provide a clear estimate before repair. When a repair is the right answer, using the correct replacement part can prevent a repeat leak and help avoid replacing a refrigerator prematurely.
Protect Your Kitchen While You Wait
If the leak is connected to the ice maker or dispenser, turn off the refrigerator’s water supply if you can do so safely. Place absorbent towels around the base, dry standing water often, and keep children and pets away from the area. Move boxes, wood furniture, and other moisture-sensitive items away from the refrigerator.
Take a few photos of the puddle and any ice or water inside the appliance before cleaning everything up. The photos can be useful if the leak is intermittent or if you need to document potential flooring damage. Then keep the refrigerator doors closed as much as possible to protect your food and reduce strain on the cooling system.
A refrigerator leak is not always a major repair, but it is never a problem to ignore. Fast attention can be the difference between replacing a small part and repairing a damaged kitchen floor.